Recipe Editor Configuration for Canvas 
Note: For Canvas Series only. For all other series see Recipe Editor .
See also: User Interface
See also: Graphic Object Toolbox for Canvas Series
Topic Menu
Overview of the Recipe Editor Configuration

|
How to Develop Recipes |

|
Cscape Recipe Management Part 1 |

|
Cscape Recipe Management Part 2 |
Recipes allow the user to send or update multiple registers simultaneously. For example, it may be desired to run a motor at two different settings for two different applications:
-
Speed of 1000RPM, minimum frequency of 500Hz, acceleration rate of 1000 s/100Hz and deceleration rate of 2000 s/100Hz.
-
Speed of 500RPM minimum frequency of 400Hz, acceleration rate of 500-s/100Hz and deceleration rate of 1500 s/100Hz.
The recipe database enables the user to change all the fields (four in this example) at the same time without editing each individual field. Each recipe database supports maximum of 250 ingredients and 1024 recipes. Recipe database space is limited by the size of Removable Media put in the controller. The recipe function will require presence of a removable media card to store the recipe data.
If a program having recipe configured is exported, Cscape will create 2 files namely *.pgm and *.csv. The user should copy both these files to Removable Media for loading in the device.
Creating a Recipe Database
-
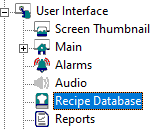
Open the Create New Recipe Database dialog by selecting Home > Data > Recipe Database from the Toolbar or through The Project Navigator by selecting Home Menu > View > Project Navigator > User Interface > Recipe Database
-
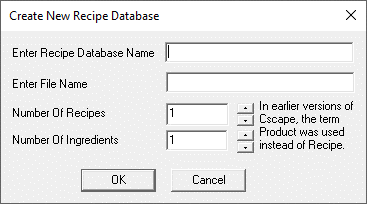
Enter the Recipe Database Name, File Name, Number of Recipes, and Number of Ingredients.
-
Recipe Database Name - Used to label the recipe database in the editor. It is also used in the associated graphic elements to identify the required recipe database. Allowed characters are a-z, A-Z, 0-9 and _.
-
File Name - Indicates the filename (plus path if required) where the data for the recipe is stored on the removable media card. Enter up to 8 characters for the File Name. File name must be in 8.3 format with .CSV extension.
-
Number of Recipes - Initial number of recipes to be allocated for the recipe database. "The number of recipes/ingredients" may be easily changed during editing by inserting or deleting columns/rows from the recipe database.
-
Number of Ingredients - Initial number of ingredients to be allocated for the recipe database. "The number of recipes/ingredients" may be easily changed during editing by inserting or deleting columns/rows from the recipe database.
-
Clicking on OK opens the Recipe Database Editor dialog.
Return to the Top: Recipe Editor Configuration for Canvas
Recipe Database Editor
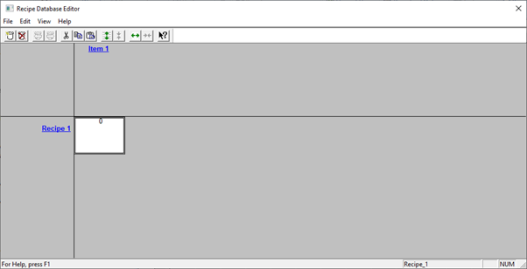
Different recipes are listed across the top of the spreadsheet. Clicking on the recipe name will allow editing of the recipe name. This is the string which will be used to select a recipe for loading/saving of the control registers in the OCS.
Different ingredients to be loaded are listed in the left most column in classic style. Clicking on the setting name will allow editing of ingredient properties, which include name to be displayed, the register(s) in which the data is placed and the format in which the data for that ingredient will be displayed. The data for the products is contained in the central ‘spreadsheet’ area. This is the data which is stored on the removable media card.
Recipe Database Editor Toolbar Buttons

-
New Recipe Database/Delete Recipe Database - Create a new recipe database or delete the currently selected recipe database.
-
Previous/Next Recipe Database - Move through the recipe databases in the program. This is augmented by the names of all recipe databases available for selection in Tools Menu.
-
Cut / Copy / Paste - Standard Windows functionality. Data is saved to the clipboard in text format allowing easy transfer to other applications.
-
Insert / Delete [Recipe] in the current Recipe Database - Deletes only after confirmation.
-
Insert / Delete [Ingredient] in current Recipe Database - Deletes only after confirmation.
Recipe Database Editor Menus
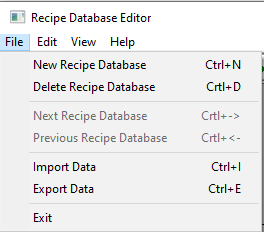
Home > Data > Recipe Database > File
-
New Recipe Database - To create a new recipe database.
-
Delete Recipe Database - To delete the recipe database.
-
Next Recipe Database - Displays the next recipe database.
-
Previous Recipe Database - displays the previous recipe database.
-
Import Data - To import the recipe database data into Removable Media or local PC
-
Export Data - To export the recipe database data into Removable Media or local PC
-
Exit - To exit the application
Note: Only recipes are exported and imported, the Ingredients names are not imported.
-
If the table size that the data has been imported into is smaller than the table it was imported from, then not all of the data is displayed.
-
Importing/Exporting data can be done in .CSV format (comma separated files)
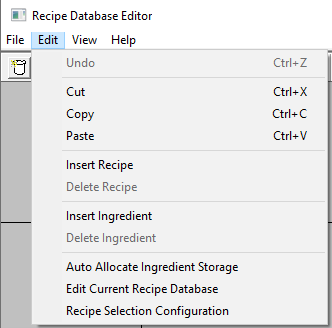
Recipe Database Editor - Edit
-
Undo - To undo edit
-
Cut - To cut the selected data from the recipes/ingredients
-
Copy - To copy the selected data from the recipes/ingredients
-
Paste - To paste the selected data from the recipes/ingredients
-
Insert Ingredient - To insert a new ingredient
-
Delete Ingredient - To delete a new ingredient
-
Insert Recipe - To insert a new recipe
-
Delete Recipe - To delete the recipe
-
Auto Allocate Ingredient Storage - To configure the auto allocation of the ingredient, register details
-
Edit Current Recipe Database - To edit the current recipe database name and the recipe database file name
-
Recipe selection Configuration - To Configure the recipe register
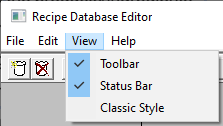
Recipe Database Editor - View
Home > Data > Recipe Database > View
-
Toolbar - Enables / Disables theToolbar
-
Status Bar - Enables / Disables the Status Bar
-
Classic Style - Recipes are listed horizontally across the top with Items listed vertically down the side
Recipe Database Editor - Help
Home > Data > Recipe Database > Help
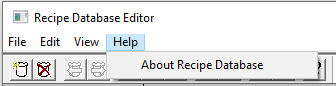
About Recipe Database - This selection pops up the Recipe Editor dialog that contains the Recipe Editor Version number.
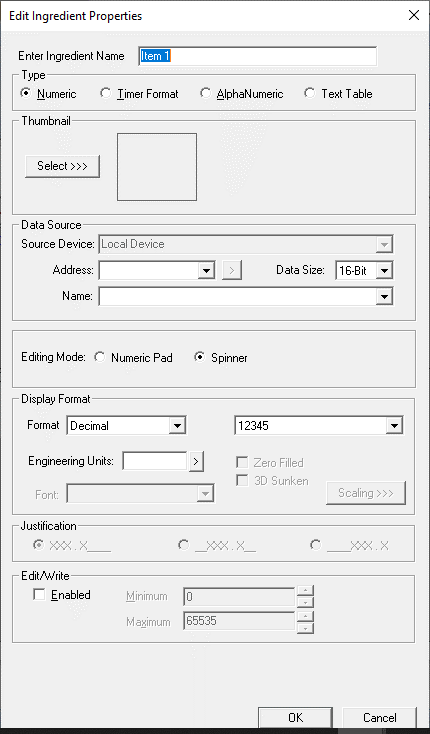
Editing Ingredient Properties
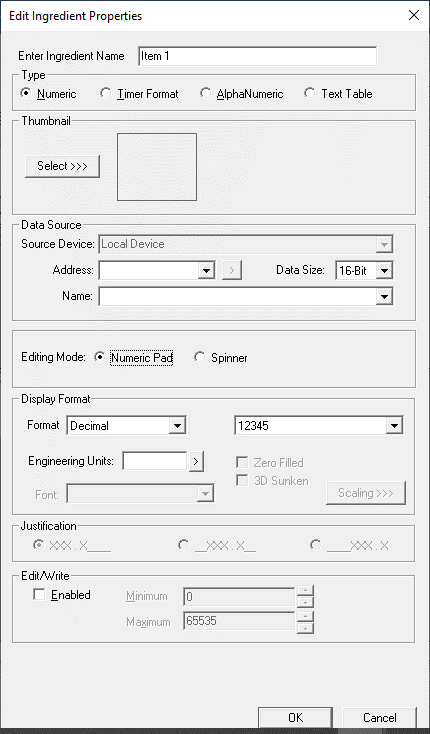
An ingredient, or field, in the recipe database corresponds to a value which will be loaded to a specified OCS register. Select the ingredient to open the Edit Ingredients Properties screen, see image below:

-
Enter Ingredient Name - The ingredient name which will appear in the graphics object for editing the ingredient can be provided.
Note: OCS can use up to 32-bytes to store the name of the selected product.
-
Type - Select the data type of the ingredient -Numeric Type, Timer Format, AlphaNumeric, or Text Table.
Note: The dialog options change with data type.
-
Data Source - Select the OCS register where the data will be loaded. (Register name & Address)
-
Edit/Write - Enable the check box if the value of the ingredient can be edited in the OCS and provide the maximum and minimum values which are used when entering the data in OCS.
Numeric Type
Timer Format

AlphaNumeric
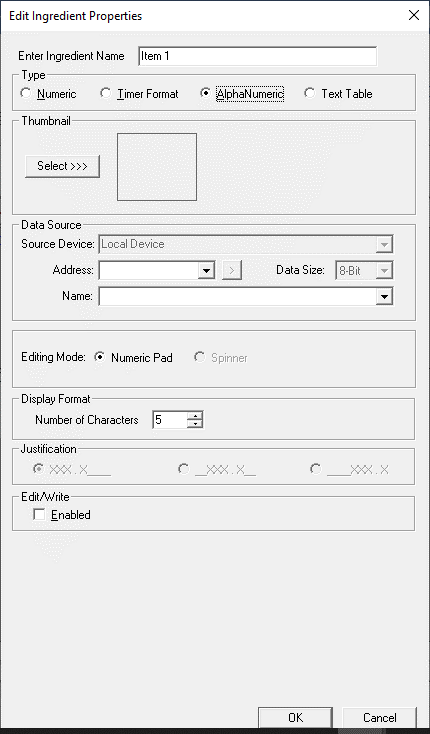
Note: The alphanumeric data cannot have comma in it. If comma is put, it will be replaced with a space.
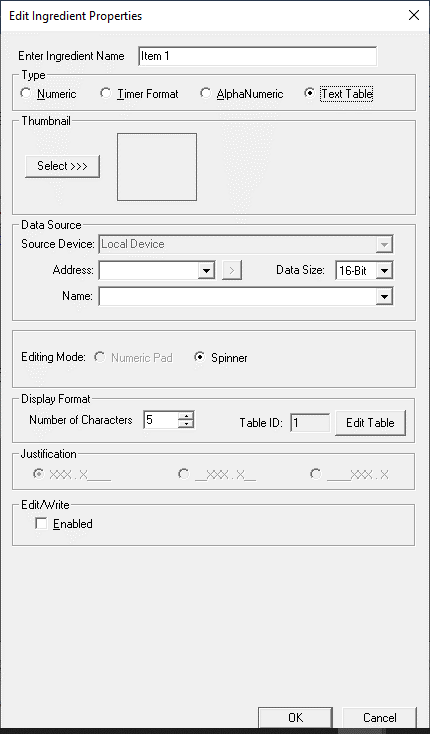
Text Table
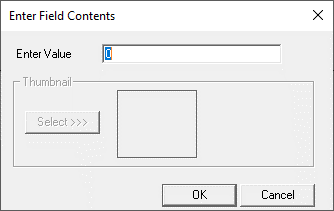
Editing Recipe Data
Double click on the field to be edited. If the data is a bit status it will toggle, otherwise the Edit Field Contents dialog box will appear. Enter the new data for the field and press enter or click OK.
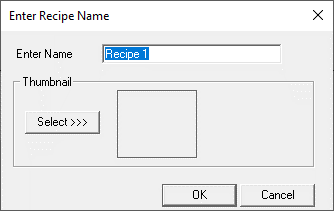
Renaming Recipes
Double click on the record name. When the Enter Recipe Name dialog box is displayed enter the new record name, and click OK or press Enter. Use the Select>>> button to select a thumbnail graphic for this recipe.
Note: OCS can use up to 32-bytes to store the name of the selected recipe.
Return to the Top: Recipe Editor Configuration for Canvas
Auto Allocate Ingredient Storage
Home > Data > Recipe Database > Edit > Auto Allocate Ingredient Storage

-
Start Ingredient - Select Start ingredient name for a range from this dropdown.
-
End Ingredient - Select End ingredient name for a range from this dropdown.
-
Register Required - This displays the number of registers that will be consumed for items/ingredients selected from start to end ingredients, which will be equal to number register used for auto allocation. This filed cannot be edited.
-
Auto Allocate uniquely for Numeric - Starting address of the register for auto allocation.
Return to the Top: Recipe Editor Configuration for Canvas
Editing Current Recipe Database
Home > Data > Recipe Database > Edit > Edit Current Recipe Database > Recipe storage details
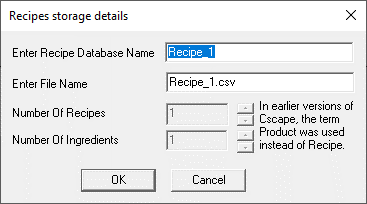
This opens the Recipes storage details dialog which allows changes to the recipe database name and file name to be made.
Return to the Top: Recipe Editor Configuration for Canvas
Recipe Storage Configuration
Home > Data > Recipe Database> Edit > Recipe Storage Configuration
This register is used for storing the selected recipe of the recipe database. The Enable Recipe Storage checkbox must be checked before recipe register can be used.
Note: To view selected recipe name or index in the view recipe graphics object, this option must be configured.
Recipe Storage Configuration - Index
Home > Data > Recipe Database> Edit > Recipe Storage Configuration > Index
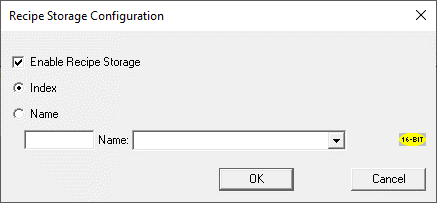
Index - Selecting this option will store the Index of the most recently selected recipe in the register provided here. The recipe can be selected from Load Recipe ladder blocks [see Program in Advanced Ladder]or Recipe Editor Functions Object for Canvas .
Note: OCS uses 16-bits to store index of the selected recipe.
Recipe Storage Configuration - Name
Home > Data > Recipe Database > Edit > Recipe Storage Configuration > Name
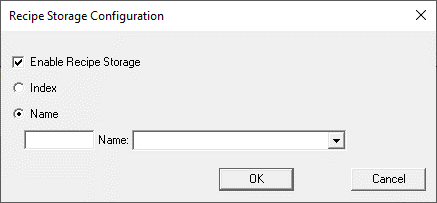
Name - Selecting this option will store the Name of the most recently selected recipe in the register provided here. The recipe can be selected from Load Recipe ladder blocks or Load Recipe graphics objects.
Note: OCS can use up to 32-bytes to store the name of the selected recipe.
Return to the Top: Recipe Editor Configuration for Canvas